You finally booked your car shipment. The driver is scheduled to arrive soon. Yet one small detail can turn a smooth pickup into a stressful delay. That is why proper preparation matters so much.
This guide walks you through everything you need to do before your vehicle leaves. You will get a clear timeline, a practical checklist, and tips for special vehicles. Follow these steps and your car will arrive safely with fewer worries.
When Should You Start Preparing Your Car?
Give yourself enough time so you never feel rushed. Most people wait until the last minute and then scramble.
Ideal Timeline (1–2 Weeks Before Pickup)
Start your preparation 7 to 14 days ahead. That window lets you clean the car, fix small issues, and gather paperwork without panic. In addition, it gives you time to take clear photos of the vehicle’s current condition.
Last-Minute Checklist (24 Hours Before)
Focus on the final touches the day before pickup. Check fuel level, disable alarms, and place the spare key in an easy spot. However, do not wait until the driver is at your door. Small tasks become big problems under pressure.
Why Starting Early Saves Time and Money
Early preparation prevents last-minute fees or rescheduled pickups. Carriers appreciate ready vehicles and often complete the Bill of Lading faster. That means your shipment stays on schedule and you avoid extra stress.
Step-by-Step Preparation Checklist
Follow this order and you will cover every important detail. Each step builds on the last.
Clean the Vehicle Inside and Out
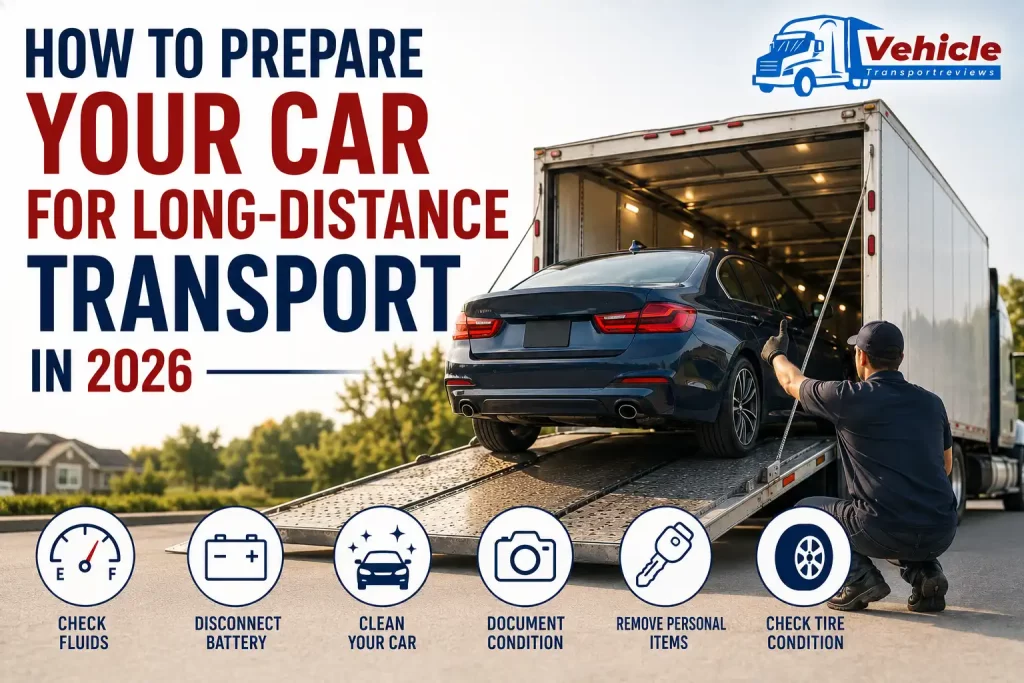
Wash the entire car thoroughly. A clean exterior makes every scratch or dent easy to spot and photograph. Vacuum the interior and wipe down all surfaces. For example, clean the wheel wells and door jambs so the driver sees nothing hidden.
Remove All Personal Items and Loose Accessories
Take everything out of the glove box, trunk, and center console. Carriers do not cover personal belongings. Remove child seats, floor mats, and any loose items. Next, take off bike racks or cargo boxes if possible.
Document Existing Damage with Photos and Video
Take clear, timestamped photos or a short video from every angle. Capture the roof, undercarriage, wheels, and interior. This step protects you if any new damage appears later. That is why many carriers now ask for these records before loading.
Check Mechanical Condition and Fluid Levels
Next, inspect your car’s basic mechanical health. Top off all fluids including oil, coolant, brake, and transmission fluid. Check for any leaks under the vehicle. A well-maintained car loads faster and reduces the chance of issues during transit.
Set the Correct Fuel Level
Leave only about a quarter tank of gas or less. This is the standard recommendation in 2026. Too much fuel adds unnecessary weight and creates a safety risk on open trailers. However, keep enough so the driver can move the car easily during loading and unloading.
Disable Alarms, Toll Tags, and Electronics
Turn off your car alarm completely. Remove or disable toll transponders like E-ZPass. In addition, disconnect any aftermarket GPS trackers or devices. These steps prevent false alarms and avoid draining the battery while your car is on the trailer. If you use modern tech like Android Auto or CarPlay, consider a best wireless carplay adapter for future trips.
Prepare Keys, Paperwork, and Spare Key
Have one full set of keys ready for the driver. Keep the spare key in a safe but accessible place. Gather your vehicle registration, insurance proof, and any other required documents. That way, the pickup process goes smoothly without delays.
Special Considerations for Electric, Hybrid, and Non-Running Vehicles
Some cars need extra attention before shipping. Electric and hybrid models, for example, require different handling than traditional gas cars.
Battery and Charging Prep for EVs and Hybrids
Charge the battery to the level your carrier recommends. Most ask for 50% or less to reduce weight and fire risk. Provide clear instructions on how to start and stop the vehicle. This prevents confusion when the driver arrives.
How to Handle a Non-Running or Inoperable Car
Tell the carrier in advance if your car does not start or drive. Non-running vehicles often need special equipment and may cost more to ship. However, honest disclosure avoids surprises and keeps your booking on track.
Extra Steps for Modified or Classic Cars
Secure any aftermarket parts or spoilers. Classic cars may need extra padding or enclosed transport. In these cases, double-check that all loose trim and accessories are firmly attached. Your preparation here protects both the car and your wallet.
What to Expect on Pickup Day
You have done all the preparation. Now the driver arrives. Knowing exactly what happens next keeps everything calm and on schedule.
The Inspection Process and Bill of Lading
The driver walks around your car with you. They inspect every panel, wheel, and interior area. Together you note the condition on the digital Bill of Lading. This document becomes your official record. Sign only after you agree with every detail.
What the Driver Will Check
The driver tests the doors, lights, and basic functions. They confirm the fuel level and battery condition. In addition, they look for any loose parts you might have missed. These quick checks take only a few minutes when your car is ready.
Tips for a Smooth Handover
Stay friendly and available during the window. Answer any questions clearly. For example, show the driver how to start a push-button vehicle if needed. Working with one of the best car shipping companies also helps ensure a professional handover every time.
Common Mistakes to Avoid
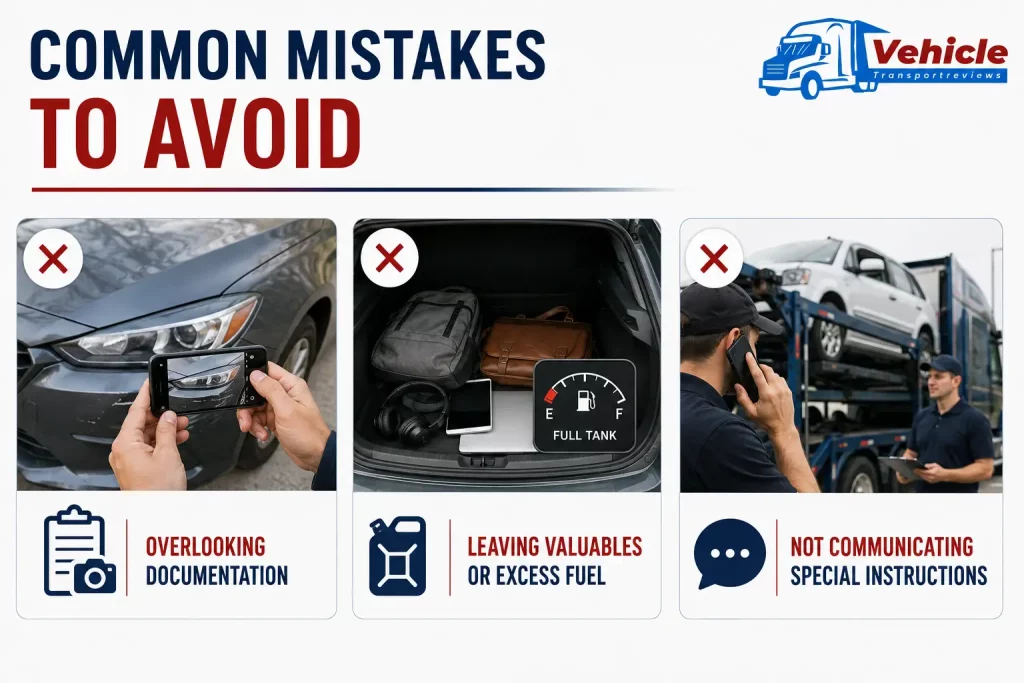
Even small oversights can cause delays or extra costs. Here are the most frequent errors people make.
Overlooking Documentation
Many skip the photo step or forget to note existing damage. However, clear records protect you later. Always take timestamped pictures before the driver arrives. This simple habit prevents disputes down the road.
Leaving Valuables or Excess Fuel
Some people leave bags, electronics, or a full tank inside. Carriers cannot insure personal items. In addition, extra fuel adds weight and fire risk. Remove everything and keep fuel at a quarter tank or less.
Not Communicating Special Instructions
Failing to mention quirks like a tricky fuel door or non-running status creates problems at pickup. Tell the carrier everything in advance. That way, the driver arrives prepared and your shipment stays on time.
Helpful Preparation Tools and Resources
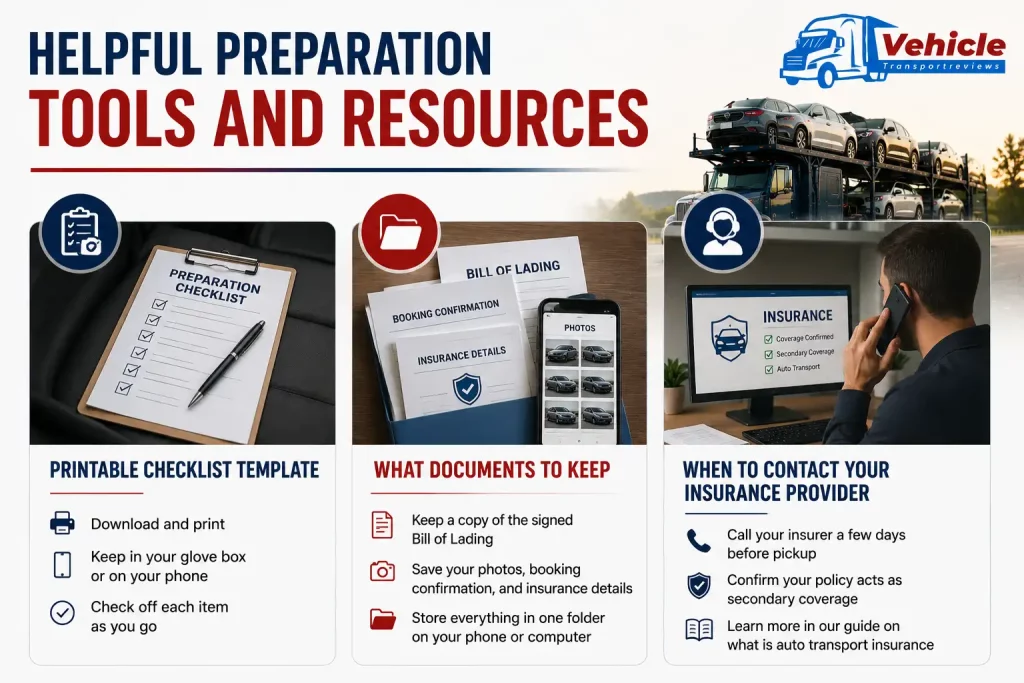
You now have the full checklist. A few extra tools make the whole process even easier and more organized.
Printable Checklist Template
Download a simple checklist and print it out. Keep it in your glove box or on your phone. Check off each item as you go. This small habit stops you from forgetting anything important on a busy day.
What Documents to Keep
After the driver leaves, keep a copy of the signed Bill of Lading. Save your photos, the booking confirmation, and your insurance details. Store everything in one folder on your phone or computer. You will thank yourself if any questions come up later.
When to Contact Your Insurance Provider
Call your personal insurance company a few days before pickup. Confirm that your policy acts as secondary coverage during transport. For a full explanation of how coverage works while your car is on the trailer, read our guide on what is auto transport insurance.
Frequently Asked Questions
How far in advance should I prepare my car?
Start 7 to 14 days before your pickup window. That timeline lets you clean, document, and fix small issues without rushing. However, finish the final checks 24 hours before the driver arrives.
Do I really need to wash my car before shipping?
Yes. A clean car makes every scratch or dent easy to see and photograph. Carriers also appreciate it because the inspection goes faster. Skip this step and you risk missing important details.
Can I leave personal items in the trunk?
No. Carriers do not cover personal belongings. Remove everything from the cabin, trunk, and glove box. Even small items like chargers or paperwork can shift and cause damage during transit.
What fuel level should I leave in the tank?
Leave about a quarter tank or less. This is the standard rule in 2026. Too much fuel adds weight and increases fire risk on open trailers. Keep just enough for the driver to move the car safely.
What if my car is not running?
Tell the carrier right away. Non-running vehicles need special equipment and may cost extra. Honest communication prevents surprises and keeps your booking on schedule.
Should I remove my license plate?
No. Leave the plates on. The carrier needs them for identification during transport and at delivery.
Do I need to provide a spare key?
Yes. Most carriers ask for one full set of keys. Keep the spare in an easy-to-find spot. This helps the driver if the main key gets misplaced during loading.
What happens if I forget to prepare something?
The driver may reschedule the pickup. In some cases you could face extra fees. That is why following the checklist ahead of time is so important.
Final Takeaways
Preparing your car for long-distance auto transport does not have to feel overwhelming. Follow the timeline, work through the checklist, and document everything clearly. These simple steps protect your vehicle and keep the entire process smooth.
Remember, a clean car, low fuel, and good records make pickup fast and worry-free. Avoid the common mistakes and you will save time, money, and stress. Your car will arrive safely at its destination, and you will feel confident you did everything right.
When you book your next shipment, come back to this guide. A few hours of preparation now can save you days of headaches later.